
Grout 101: Choosing, Sealing & Maintaining Tile Grout
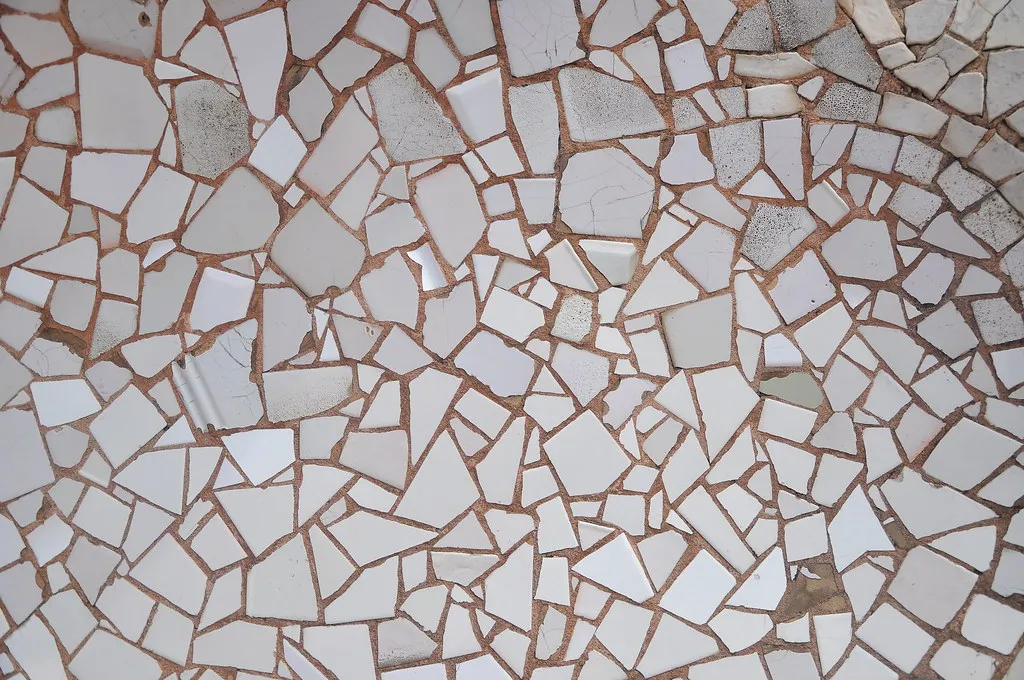
Grout is the most overlooked part of any tile job and quietly one of the most important. It’s the material between the tiles, and it does a lot more than fill space. It locks the installation together, accommodates tiny movements, keeps water out of the assembly, and, visually, it can either disappear or completely change how a tile reads. When tile “goes bad,” the grout is usually the part that failed first. Here’s how to choose it, seal it, and keep it from being the weak link.
The three grout families
Most tile work uses one of three types, and the choice comes down to joint width, use, and how much maintenance you want to sign up for.
Sanded grout
Cement-based grout with sand added for strength. It’s the standard for joints 1/8 inch and wider, which covers most floors and many walls. The sand keeps it from shrinking and cracking in a wider joint. One caution: sanded grout can scratch soft, polished surfaces like marble and glass, so it needs to be used carefully (or avoided) on those.
Unsanded grout
Smoother cement grout without sand, made for narrow joints under 1/8 inch and for delicate tiles (polished stone, glass, and many mosaics) where sand would scratch. It’s stickier and easier to work onto vertical walls, but it’s not strong enough for wide floor joints.
Epoxy grout
A different animal entirely. Epoxy grout is made of resins rather than cement, and it’s nearly waterproof, stain-resistant, and doesn’t require sealing. That makes it excellent for showers, kitchen backsplashes, countertops, and commercial work where stains and moisture are constant. The trade-offs: it costs more, it sets fast and is harder to install (a real argument for a pro), and the color is locked in once it cures. For high-stain, high-moisture areas, many homeowners decide it’s worth it.
Choosing grout color: the design decision people underestimate
Grout color does more to change the look of a tile than almost any other variable. Two rules of thumb:
- Matching grout (close to the tile color) makes the surface read as one continuous field: calm, seamless, and forgiving. Great for large-format floors and minimalist looks.
- Contrasting grout celebrates each tile and emphasizes the pattern; think classic white subway with dark grout, or a herringbone where you want to see the geometry.
A practical note: very light grout on a floor shows dirt, and very dark grout can show efflorescence or lighten unevenly if cement grout cures inconsistently. For floors and showers, a mid-tone often ages best. We’ll always recommend looking at grout color against the actual tile, not a chart. Lighting changes everything.
Sealing: which grout needs it and which doesn’t
This trips a lot of people up, so to be clear: cement-based grout (sanded and unsanded) is porous and should be sealed. Epoxy grout does not need sealing.
For cement grout, a penetrating sealer soaks into the grout lines and slows water and stain absorption, the same idea as sealing natural stone. Seal it after the grout has fully cured (typically a few weeks after install, not the next day), and reseal periodically, especially in showers and on floors. A quick test: drip water on a grout line; if it darkens and soaks in, it’s time to reseal. If you used epoxy, you can skip all of this.
Why grout fails, and how to prevent it
When clients call about cracked, crumbling, or moldy grout, the cause is almost always one of these:
- Movement in the substrate. This is the big one. If the floor or wall behind the tile flexes (an unsound subfloor, no crack-isolation, missing movement joints), the rigid grout cracks. The grout is the symptom; the substrate is the disease. Patching grout over a moving floor just buys a little time.
- No movement (expansion) joints. Large tiled areas and every change of plane (where floor meets wall, at corners) need a flexible joint of caulk or sealant, not grout. Grout in those spots cracks as the materials expand and contract. This is a classic shortcut that comes back to haunt a job.
- Improper mixing or installation. Grout that’s mixed too wet, retempered, or not packed fully into the joint is weak from day one and crumbles early.
- Unsealed cement grout in a wet area. It absorbs water, harbors mold, and discolors, which is exactly why epoxy or a well-maintained seal matters in showers.
The reassuring news is that failing grout is very fixable when the substrate is sound: we remove the old grout, regrout, and reseal, which refreshes the look and, more importantly, stops water from getting behind the tile. That kind of repair and restoration is one of the most cost-effective ways to make a tiled space look new again, and on a bathroom shower it protects everything behind the wall.
Quick maintenance habits
- Wipe shower walls down after use to reduce soap scum and mildew on grout lines.
- Skip harsh acidic cleaners on cement grout (and on stone); they erode it over time.
- Reseal cement grout on the schedule the water-drop test tells you.
- Address a cracked grout line early: it’s a small fix now and a water-damage problem later.
If your grout is cracking, staining, or growing mildew, or you’re planning new tile and want it grouted and sealed to last, call (415) 482-8453 or get in touch. Often the tile is fine and the grout just needs the right attention.